Admin panel manual
Every page of the FluffCams RTC admin panel, in the order of its menu: what it is for and how to use it.
- Signing in and the dashboard
- Connections
- Pending
- Payouts and Payout History
- Members
- Broadcasters
- Affiliates
- CC Bill and Bitcoin
- Legal Pages and Footer Content
- Tokens
- Categories
- Mailer and Welcome Message
- Logos and Theme Builder
- Lovense Settings
- Social Media
- SMTP Settings
- Push Notifications
- reCAPTCHA
- Language
- Crons
- Admin Management
- Video server
Signing in and the dashboard
Your admin panel is at https://your-domain/admin/. Sign in with the admin account you made during installation. The admin panel is meant for a computer: it is closed on phones, so nothing is changed by accident.
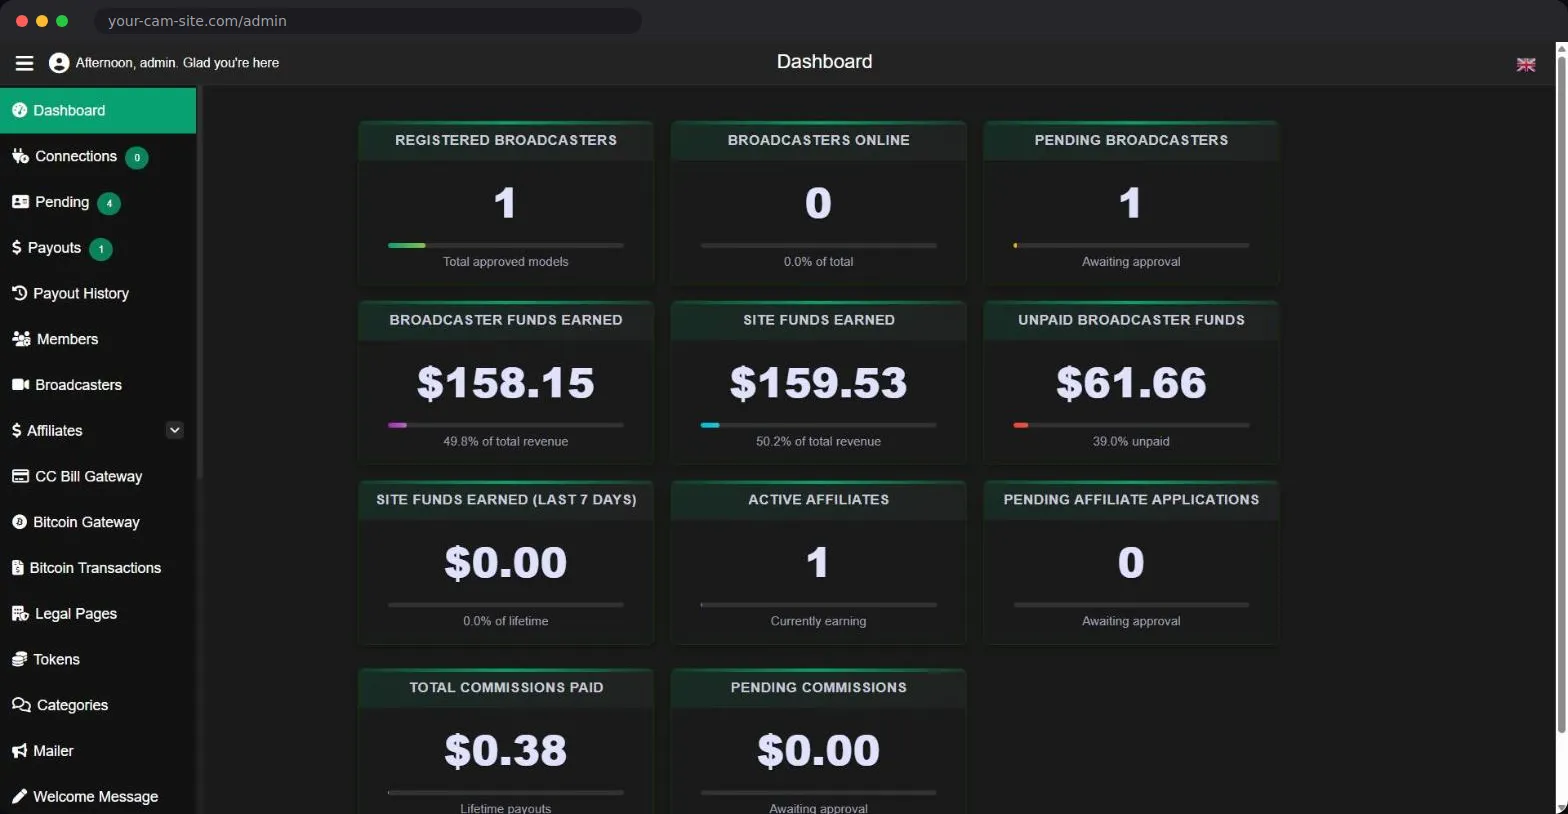
The Dashboard shows your site at a glance: approved, online and waiting models, what models and the site have earned, the models' unpaid balance, the site's earnings of the last 7 days, and your affiliates and their commissions. The numbers next to Connections, Pending and Payouts in the menu tell you when something needs you.
Connections
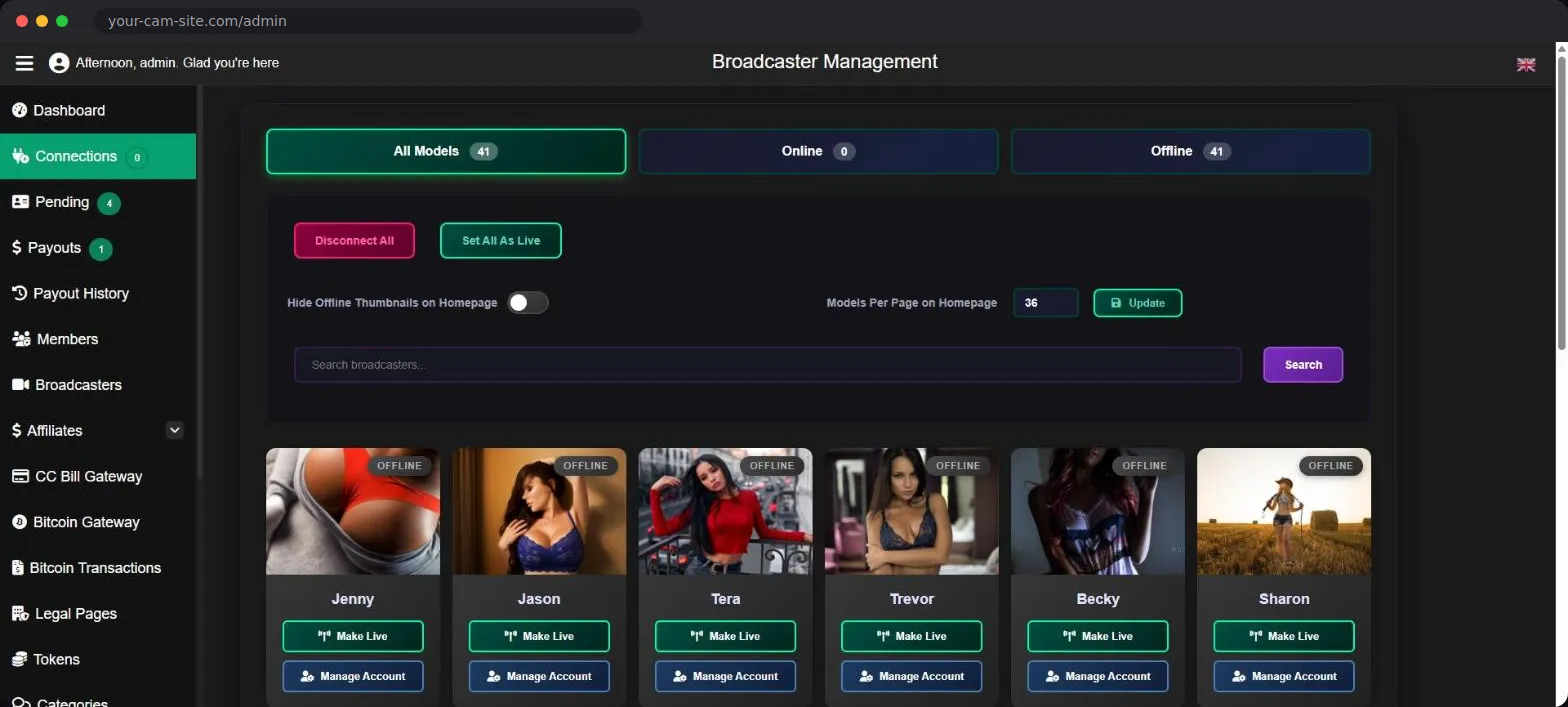
All your models as cards, with tabs for All Models, Online and Offline and a search box. Each card has Make Live (shows the model as online) and Manage Account (opens the model's account). Disconnect All takes every model offline at once; Set All As Live does the opposite.
Two home page settings live here too: Hide Offline Thumbnails on Homepage (only online models are listed) and Models Per Page on Homepage.
Pending
New model applications wait here for you. Each one shows the username, email, location and date; View Details opens everything the model sent, including the ID papers. Approve or reject one at a time, tick several and use Approve Selected / Reject Selected, or use Approve All / Reject All. A model can go live only after you approve them.
Payouts and Payout History
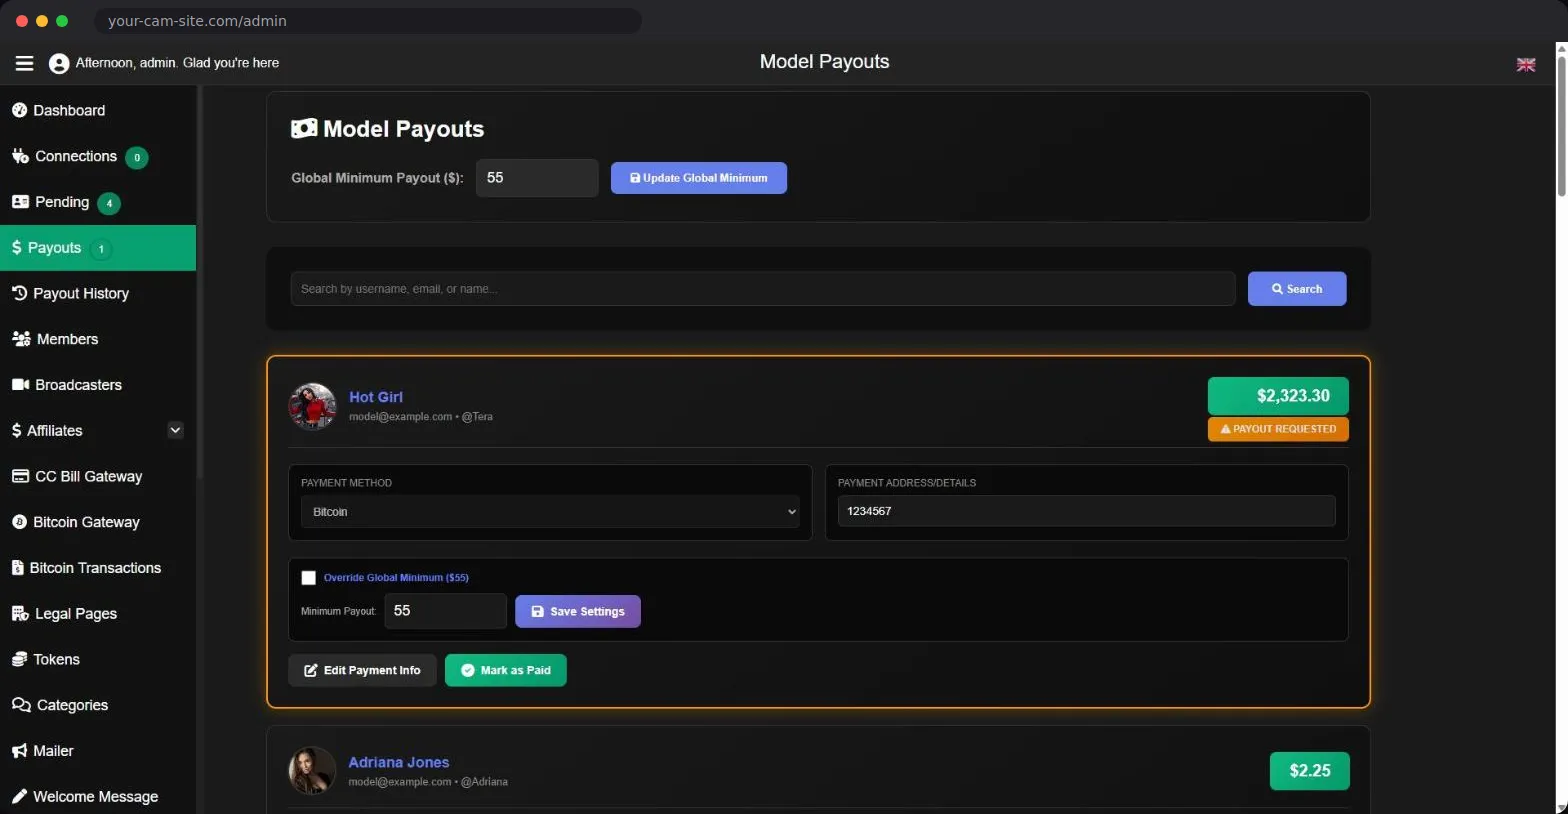
Payouts lists every model with the money they have earned and not been paid yet. A model who asked to be paid is marked Payout requested. At the top you set the Global Minimum Payout: models below it cannot be paid yet. For one model you can set a different minimum (Override Global Minimum), and change their payment method (PayPal, bank transfer, Bitcoin, Paxum, wire transfer or other) and payment details.
Pay the model yourself, outside the site, then press Mark as Paid: their balance goes back to zero and the payment is added to Payout History, which lists every payment with its amount, method, address and date.
Members
Everyone who signed up to watch. The top shows how many members you have, how many tokens they hold together and what a token is worth. Search by username or email, open a member to see and change their account, or use Create New Member to make an account yourself.
Broadcasters
Your models. The top shows what models and the site have earned, the unpaid balance and the last 7 days. Create New Broadcaster makes a model account yourself (with their details and payment settings).
Opening a model shows their profile, pictures, videos and teaser video, and their earnings history. This is where you set what they charge and earn:
- Cost Per Minute: what a member pays per minute of a private show.
- Spy Cost Per Minute: what a member pays to watch someone else's private show.
- Earning Percentage: the model's share of everything they earn. The rest is the site's.
- Display Featured Broadcaster Icon: shows a featured mark on the model.
You can also send the model a message and log in as the model to help them. Every admin who does this is listed in the model's Admin Impersonation Log.
Affiliates
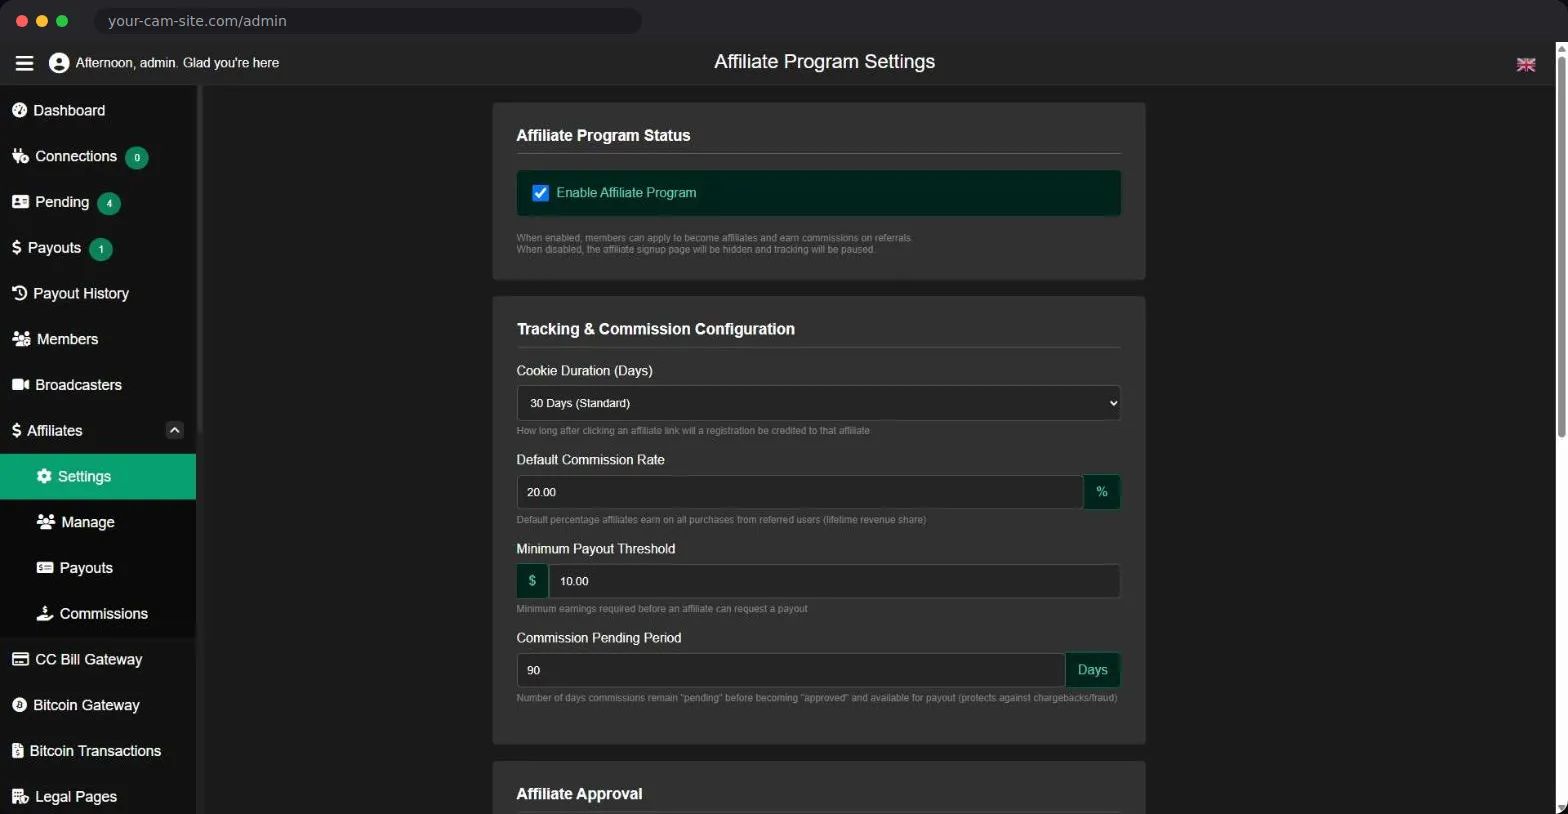
Your affiliate program: people who send you members earn a share of what those members spend, for as long as they spend. It has four pages:
- Settings: switch the program on or off, how long a referral link counts (Cookie Duration, 30 to 365 days), the Default Commission Rate in percent, the Minimum Payout Threshold, the Commission Pending Period (days a commission waits before it can be paid, against chargebacks; 90 is usual), whether new affiliates are approved automatically, the payment methods you offer and your own affiliate terms.
- Manage: every affiliate, filtered by All, Pending, Active or Suspended. Approve applications, give one affiliate a different commission rate, or suspend them.
- Payouts: affiliates' payout requests. Pay them, then confirm here.
- Commissions: every commission earned, to check them one by one.
CC Bill and Bitcoin
Members pay for tokens with a card through CCBill or with Bitcoin. Only the ways you switch on are shown to members.
- CC Bill Gateway: your CCBill Account Number, Sub-Account Number, the Form Code or FlexForms ID and the Main Code, all from your CCBill account. Tick Enable CC Bill Gateway and save.
- Bitcoin Gateway: your Blockonomics API Key and wallet XPUB. Copy the Callback URL shown on the page into your Blockonomics account, so payments are confirmed automatically. Tick Enable Bitcoin Gateway and save.
- Bitcoin Transactions: every Bitcoin payment and its status.
Legal Pages and Footer Content
Legal Pages holds the text of six pages in one editor each: Privacy Policy, Terms of Service, Legal Notice, Contact Us, Complaints & Content Removal and the Content Provider Agreement. Put in your own business details, then Save Changes. Footer Content is the text at the bottom of every page.
Tokens
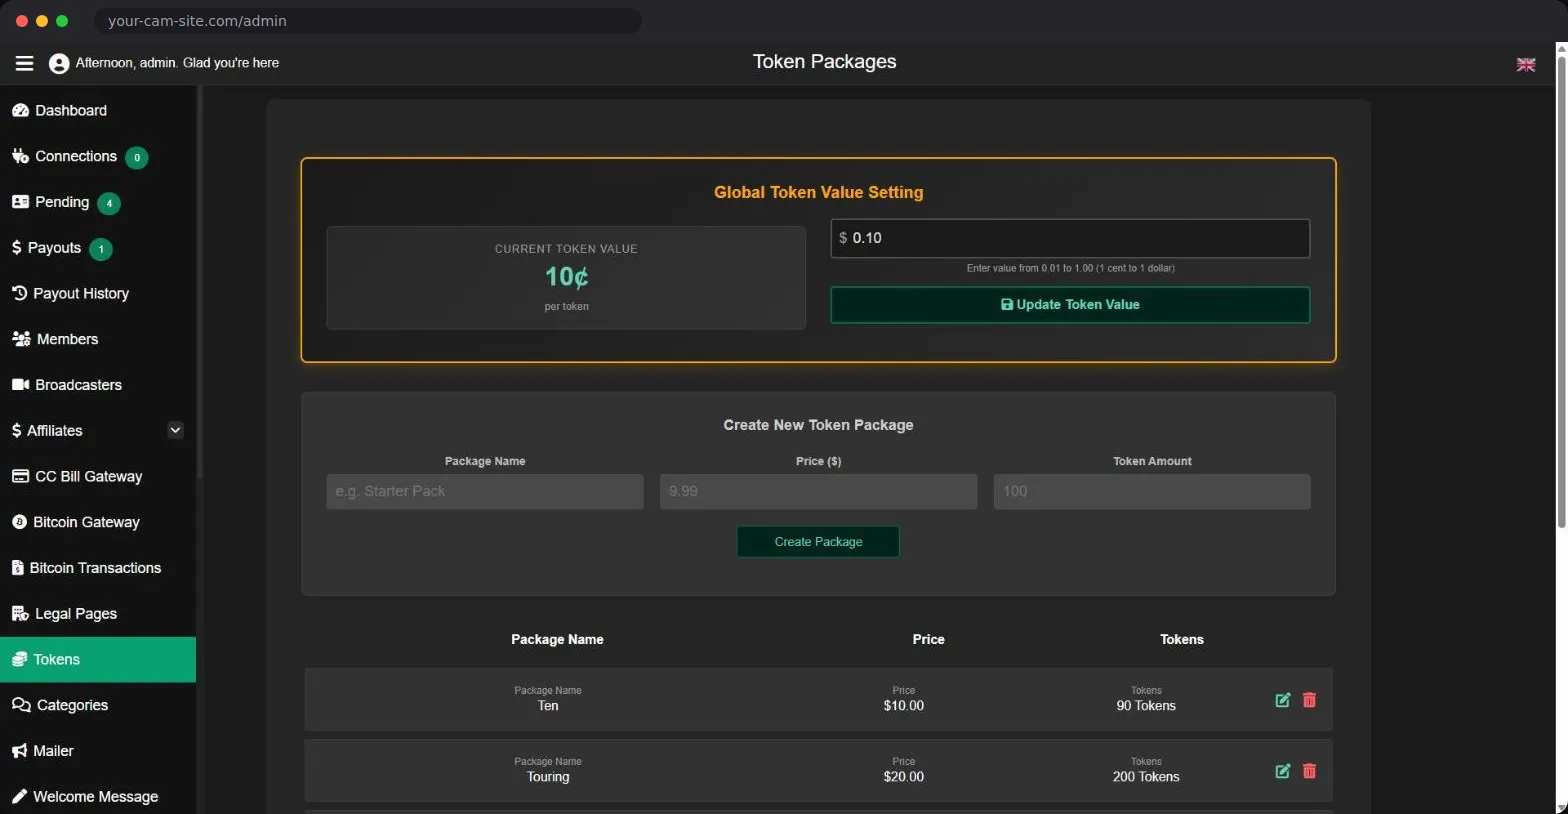
At the top, the Global Token Value: what one token is worth in dollars (from 1 cent to 1 dollar). Set it once, before you open the site. Changing it later changes the value of every token members already hold and every model's earnings, which is why the page asks you to confirm.
Below it you make the token packages members buy: a name, a price and a number of tokens. Give bigger packages a few extra tokens to make them more attractive.
Categories
The categories visitors filter models by. Make a section first (for example "Gender" or "Specials"), then the categories inside it, each with an icon picked from more than 1,600.
Mailer and Welcome Message
Mailer sends a newsletter: choose who it goes to, write a subject and the message, and press Send Newsletter. Set up SMTP Settings first so it arrives. Welcome Message is the message new models receive; Preview Message shows it before you save.
Logos and Theme Builder
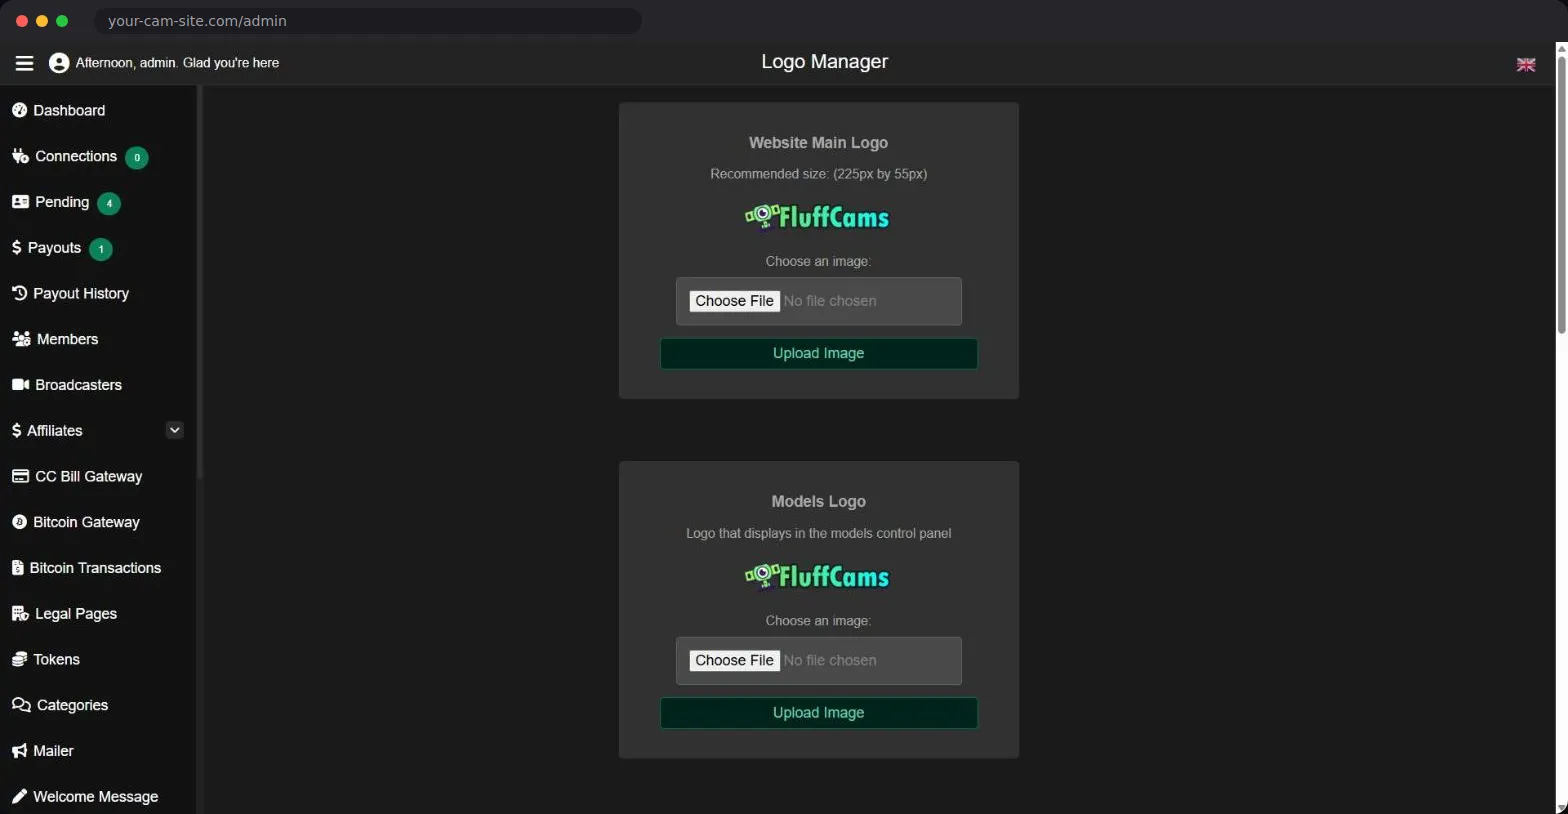
Logos has five pictures: the main logo (about 225 × 55 pixels), the models' logo in the model panel, the favicon in browser tabs, the app icon (one 512 × 512 picture; every other size is made from it) and the stream watermark, a small logo in the corner of every live stream.
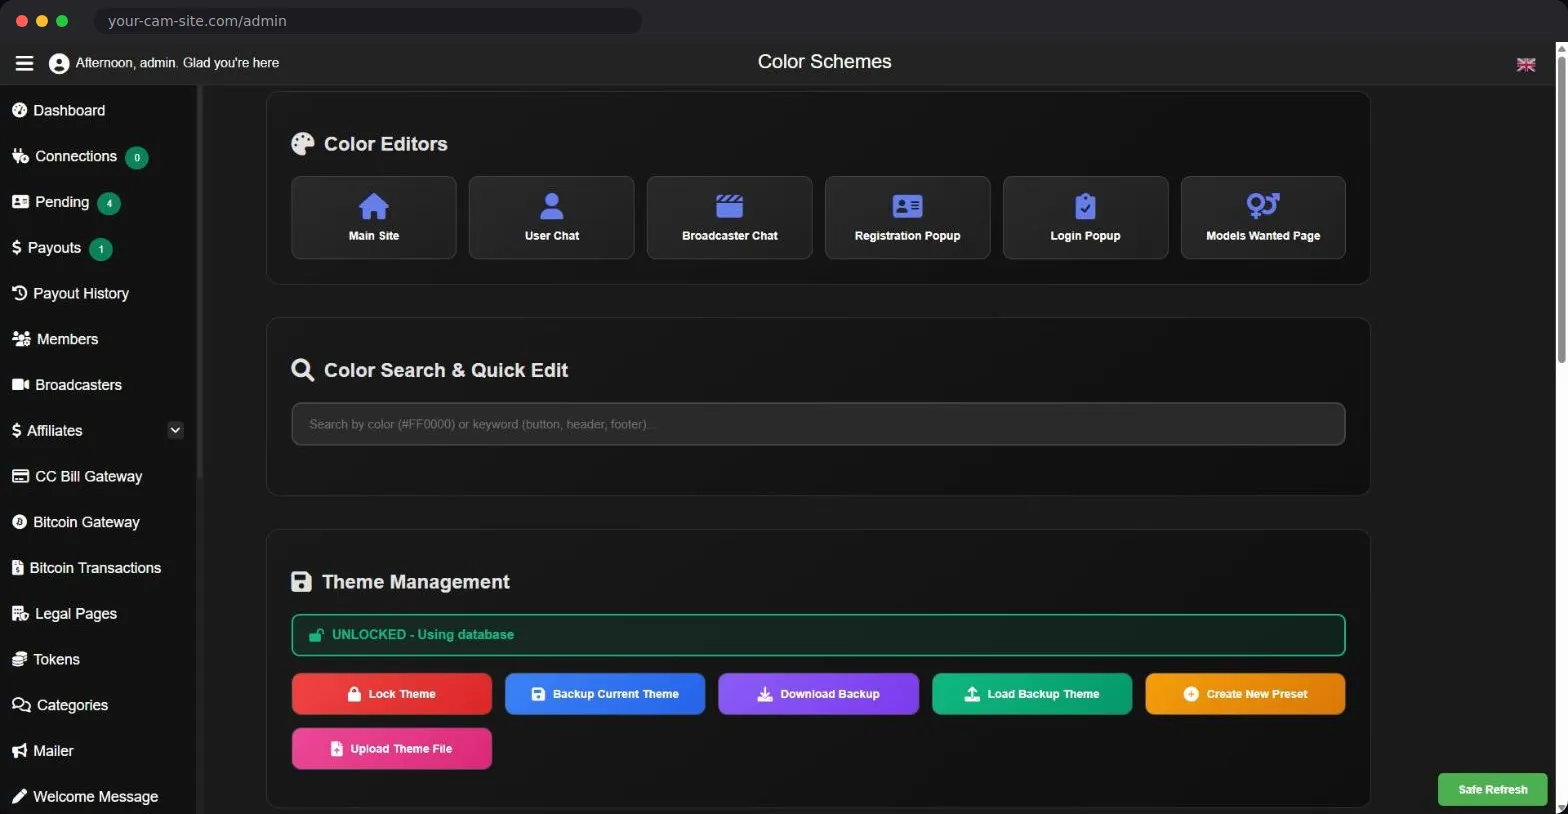
Theme Builder sets your colours. Pick a ready-made look (Black, White, Red, Blue, Green, Purple) or your own saved ones, or change the colours of each part of the site: the main site, the member chat, the model chat, the sign-up and login windows and the models-wanted page. The colour search finds a colour or a part by name. Lock Theme stops accidental changes; Backup, Download and Load Backup keep a copy of your colours; Create New Preset saves the current colours as a look of your own.
Lovense Settings
Lets models' Lovense toys react to tips. Enter your Lovense details and up to eight tip levels: for each, the number of tokens and how many seconds the toy runs. Disable Lovense Widget switches it off for the whole site.
Social Media
Links to your site's X, Instagram, Facebook, LinkedIn and WhatsApp. Leave a box empty to hide that icon.
SMTP Settings
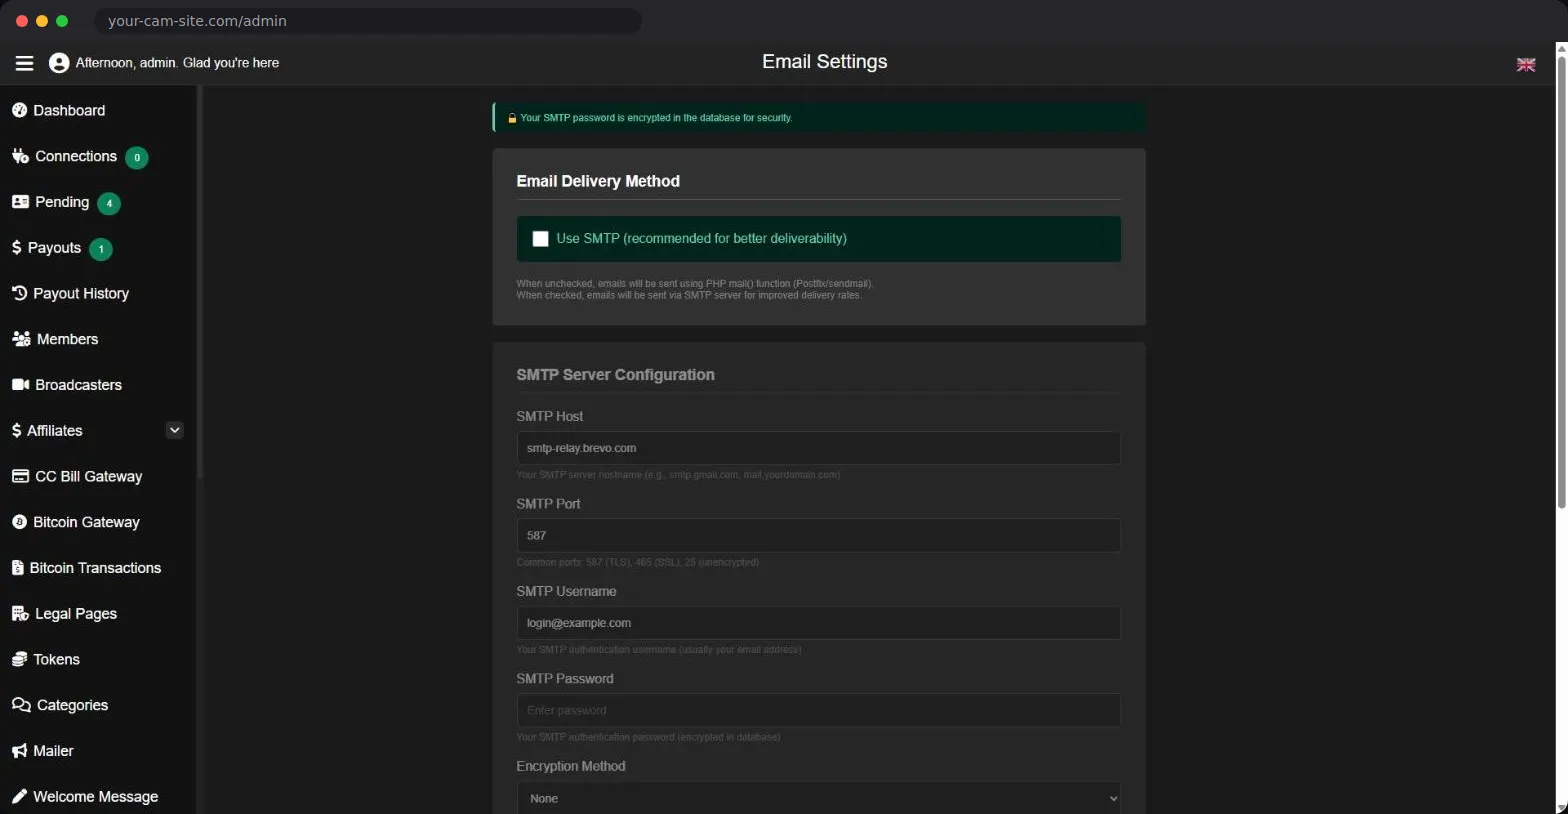
How your site sends email (sign-up confirmations, passwords, notifications, newsletters). Tick Use SMTP and enter your email service's host, port, username, password and encryption, then the address and name your emails come from. The password is stored encrypted. The email guide walks you through Brevo (free) and Gmail.
Push Notifications
Alerts on phones and computers, for example when a favorite model goes live. Enter your OneSignal App ID and REST API Key and tick Enable Push Notifications. Members choose which alerts they want. See the push guide.
reCAPTCHA
Stops robots from using your forms. The page shows how to get free keys from Google; paste the Site Key and the Secret Key and save.
Language
86 languages, each with its own switch. Visitors choose from the ones you switch on, and the site is translated for them.
Crons
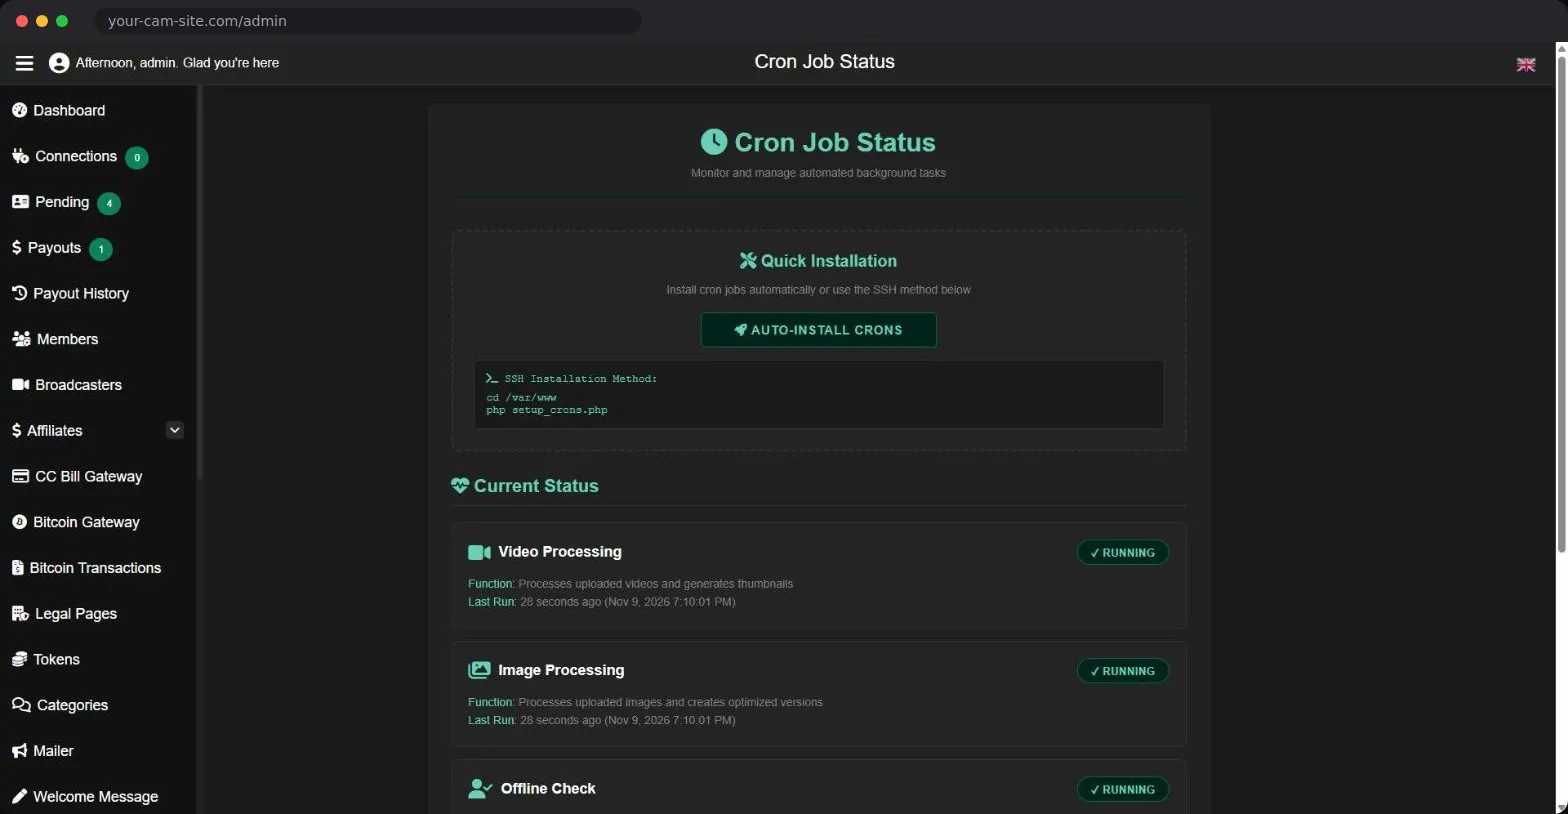
The scheduled jobs that prepare uploaded videos and pictures and set models offline when they leave. Press Auto-Install Crons once after installing. Each job then shows a status light: green "Running" with the time it last ran. If one turns red, open a support ticket.
Admin Management
Your own admin profile (username, email, password), and the other administrators: Create New Admin sends them an email with their login. You can edit an admin, reset their password or remove them. A removed admin, or one whose password you reset, is signed out at once.
Video server
The details your site uses to connect live video: the video server address, your site's own room name and, if you have one, the relay login we gave you (it helps viewers on strict networks). The installer fills these in. If you need to change them, open https://your-domain/admin/setserver.php.
Questions about a page? Log in to your account and open a support ticket.